Remember my post on my birthday party? The one for which I baked 7 different kinds of bread? Well, it wasn't fully to my my sister's consent. The reason for this was that there was nowhere a chocolate bread to be found ...
She's a chocolate addict. Not so much as in her childhood, during which she couldn't take her hands of anything containing chocolate (even though she was allergic to the thing!), but still enough to be disappointed about having to eat all sorts of bread without that specific ingredient.
To make things up with her I decided this morning to bake chocolate buns for her. I woke up as early as 5 a.m. this morning, for I don't know what reason. So as I knew the others wouldn't get up for at least 3 hours, I had enough time to spend some time in the kitchen making the buns.
I'd just made up my mind about this when I found out that the plain flour was all finished. But there are always solutions to these kind of problems: a combination of whole wheat flour and vanilla flour would do.
Ingredients for 4 buns:
- 70 grams whole wheat flour
- 50 grams vanilla flour (custard powder)
- 1 large tablespoon of vanilla sugar
- 3,5 grams instant yeast
- 40 grams lukewarm milk
- 25 grams butter
- 1 egg
- 100 grams chopped plain chocolate
- 1 egg yolk
- powdered sugar for serving (optional)
How to:
Mix the milk, egg and the yeast. Mix in another bowl the flour, the custard powder, the sugar and the salt. Mix both mixtures with eachother and knead the butter in. Knead at least 5-10 minutes so that the dough comes together nicely.
Let the dough rest for about 10 minutes.
Knead again and add the chopped chocolate now.
Let the dough rest for 30 minutes.
Knead again and divide it in 4 pieces. Shape them whatever way you like.
Let the dough rest for 45 minutes. Spread some egg yolk onto it so that it will get nice and shiny in the oven.
Bake the buns for 10 minutes in a preheated oven at 190°C. Raise the temperature to 210°C and bake for another 10 minutes.
Take out of the oven and let cool.
Serve with some powdered sugar on top.
At least my sister can't blame me for not thinking about her this morning!
Have a nice meal! :)
P.S.: they're nice but to be eaten in small amounts. That's because the whole wheat flour doesn't rise as easily as white flour ;)
Zoeken in deze blog
Posts tonen met het label chocolate. Alle posts tonen
vrijdag 24 augustus 2012
vrijdag 10 augustus 2012
Chocolate chip cookies with a twist
It's good outside so I decided to take my book out in the garden to read it there. I didn't think it would get that hot in the sun, though. I really had to get inside before getting a sunburn. But what to do when you have time off and you can't do what you had in mind? Right: you get creative in the kitchen :)
Creative to do what I wanted to do (baking chocolate chip cookies) without the necessary ingredients (no vanilla extract, no plain chocolate, ...). Substitutions would have to do.
Ingredients for 8 large cookies:
- 105 grams butter
- 120 grams white chocolate with rice crispies
- 50 grams milk chocolate with hazelnuts (like the one from Côte d'Or)
- 60 grams white sugar
- 1 egg
- 160 grams flour
- 1/2 teaspoon baking powder
How to:
In a small pot, melt the butter and the white chocolate. Take off the fire once they've combined and add the sugar and the egg.
Then put the flour and the baking powder in. Mix well.
When your dough is cooled off, you can throw in the hazelnut chocolate you've cut or broken into small pieces. Stir again so that the chunks are all over the dough.
Line a baking tray with some non-stick paper and make 8 large heaps of dough, evenly spread out over the tray.
Put in a 230°C preheated oven and bake for about 10-15 minutes.
The cookies are still gooey when ready. They set and get crispy when cooled off completely.
My parents' found them delicious. My mum really liked the nutty taste. She thinksI used the real nuts ;) My dad didn't say anything but just ate 2 large ones in about five minutes time!
![]() |
| my sister and one of the cookies ... |
vrijdag 15 juni 2012
Petit beurre cake
Petit beurre cake is the most nostalgic recipe I can imagine. My grandmother has been making it for ages. She makes them as a big cake, from which you can cut pieces off. But I made smaller, individual cakes. With the different coloured plates they look funny too!
The reason I made them is because of my dad. He complained that I made too many strange dishes. I had to return back to traditional meals for him. This week I did so, and as this is the dessert his mother makes for family parties, I guess he'll like it.
It's the easiest way to make a dessert.
Ingredients for 5 4-layer cakes:
- 20 petit beurre biscuits
- 250 grams butter
- 4 tablespoons powdered sugar
- coffee (or milk for children and people that don't like the coffee taste) for dipping
- a pinch of cocoa powder
- chocolate sprinkles
How to:
Stir the butter until soft. Now add the sugar and the cocoa powder, mix it with the butter until it's completely incorporated.
Dip a biscuit in the coffee or milk. Put it on the plate. Spread some of the butter mixture on top. Repeat this until you have used up all biscuits and all of the butter mixture.
Put the chocolate sprinkles to decorate.
Store in the fridge until you serve.
Smakelijk!
P.S.: Don't start counting the calories here! It's a very rich and heavy snack, but you can't be strict for yourself all the time :)
zaterdag 2 juni 2012
Chocolate and raisin biscuits
I woke up way too early this morning. No one to talk to and it's too cold to take a walk outside yet. Making biscuits is something easy, relaxing and it spreads the most amazing aroma through the house. So that's a very good way to pass time.
These biscuits are really aromatic because of the light brown sugar. I took the recipe from a book I bought in Oxford, while on excursion in high school about 6 years ago. It's actually a recipe for chocolate chip cookies, but I altered it a bit. As you know, copy-pasting is not exactly proper in copyright terms ;)
Ingredients:
- 110 grams butter
- 100 grams light brown sugar
- 1 egg
- 1/2 teaspoon vanilla essence
- 140 grams flour
- dash of salt
- 1 teaspoon baking powder
- handful raisins
- 1 tablespoon cocoa powder
- 2 tablespoons Nestlé powder
- 50 grams dark chocolate, molten
How to:
Preheat the oven up to 190°C.
Mix the butter and the sugar until they are creamy. Add the whisked egg. Then add the baking powder, flour, salt, vanilla essence. Now, split the dough in two. In the first half you add the raisins. In the second half you add the molten chocolate, cocoa and the Nestlé powder.
With a little spoon, drop heaps of dough on the baking tray (on non-stick paper). Leave enough space in between because they tend to get larger while baking.
Bake for about 10-15 minutes according to your oven. They are ready when still soft in the middle but light golden on the sides.
These biscuits are really aromatic because of the light brown sugar. I took the recipe from a book I bought in Oxford, while on excursion in high school about 6 years ago. It's actually a recipe for chocolate chip cookies, but I altered it a bit. As you know, copy-pasting is not exactly proper in copyright terms ;)
Ingredients:
- 110 grams butter
- 100 grams light brown sugar
- 1 egg
- 1/2 teaspoon vanilla essence
- 140 grams flour
- dash of salt
- 1 teaspoon baking powder
- handful raisins
- 1 tablespoon cocoa powder
- 2 tablespoons Nestlé powder
- 50 grams dark chocolate, molten
How to:
Preheat the oven up to 190°C.
Mix the butter and the sugar until they are creamy. Add the whisked egg. Then add the baking powder, flour, salt, vanilla essence. Now, split the dough in two. In the first half you add the raisins. In the second half you add the molten chocolate, cocoa and the Nestlé powder.
With a little spoon, drop heaps of dough on the baking tray (on non-stick paper). Leave enough space in between because they tend to get larger while baking.
Bake for about 10-15 minutes according to your oven. They are ready when still soft in the middle but light golden on the sides.
Don't they look good?
Smakelijk!
maandag 21 mei 2012
Tuiles Viennoises by an amateur
Woken up too early for a day like this, no work or school duties to think about. My only tast today is do the groceries and the shops are not open at 7 am. What to do, then?
I can't keep myself from messing around in the kitchen on moments like this. I took a look in my cooking library and decided to make peanut butter biscuits.
Problem was that there wasn't any peanut butter in the house. That's so me - not checking at first what's needed and just starting off.
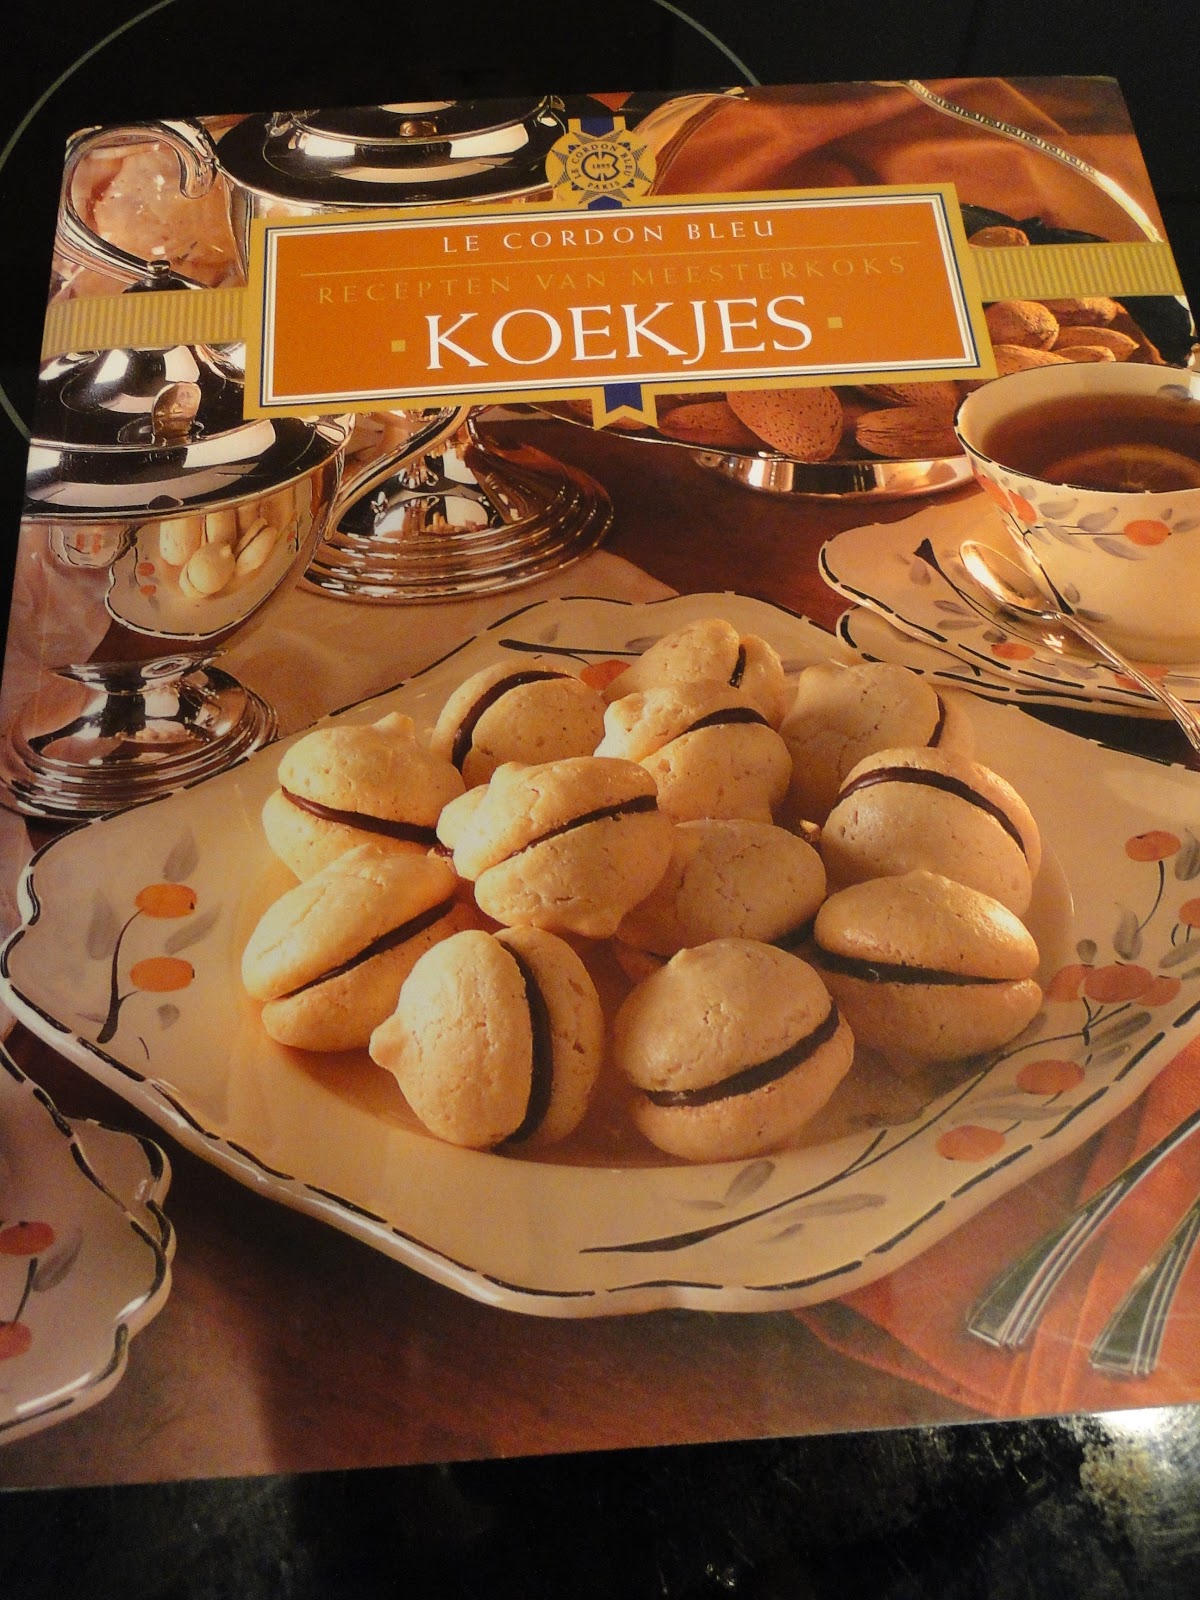
As I'd already started mixing the butter and sugar, I had to change plans quickly. I was looking in a cooking book of Le Cordon Bleu, the famous international culinary school. Luckily the book mentioned also a recipe of chocolate sprits or tuiles viennoises.
I can't keep myself from messing around in the kitchen on moments like this. I took a look in my cooking library and decided to make peanut butter biscuits.
Problem was that there wasn't any peanut butter in the house. That's so me - not checking at first what's needed and just starting off.
As I'd already started mixing the butter and sugar, I had to change plans quickly. I was looking in a cooking book of Le Cordon Bleu, the famous international culinary school. Luckily the book mentioned also a recipe of chocolate sprits or tuiles viennoises.
Ingredients for 10-12 sprits:
- 120 grams butter
- 50 grams white sugar
- 1 egg
- 175 grams flour
- vanilla essence
- 100 grams chocolate
How to:
Mix the butter with the sugar. Add the egg and the vanilla essence. When they've been mixed through, you can add the flour. The dough should be really smooth.
I set off and mixed all the ingredients just like prescribed, that's not hard.
Then came the next obstacle on my road to baking sprits: sprits need to be squeezed from a pastry bag on the baking tray. That's quite difficult for me, having no parstry bag in the house. But with a plastic bag and scissors, you can do it just fine. I put all of the dough in the bag and cut a small hole in one of the corners. You don't have these fancy shapes like with a professional pastry bag, but yeah ... the taste won't change, right?
I just needed to bake them in a 200°C oven (preheated) for about ten minutes and they were ready. They were slightly golden. The shape was not al all the one I'd intended of course. I blame the plastic bag!
Now, sprits have this chocolate dipped end, but I decided to turn the biscuits around so that their flat side was up, and I covered these with the molten chocolate.
They are not as fancy as the ones you see in the books, but taste matters :)
Bon appétit!
Abonneren op:
Posts (Atom)